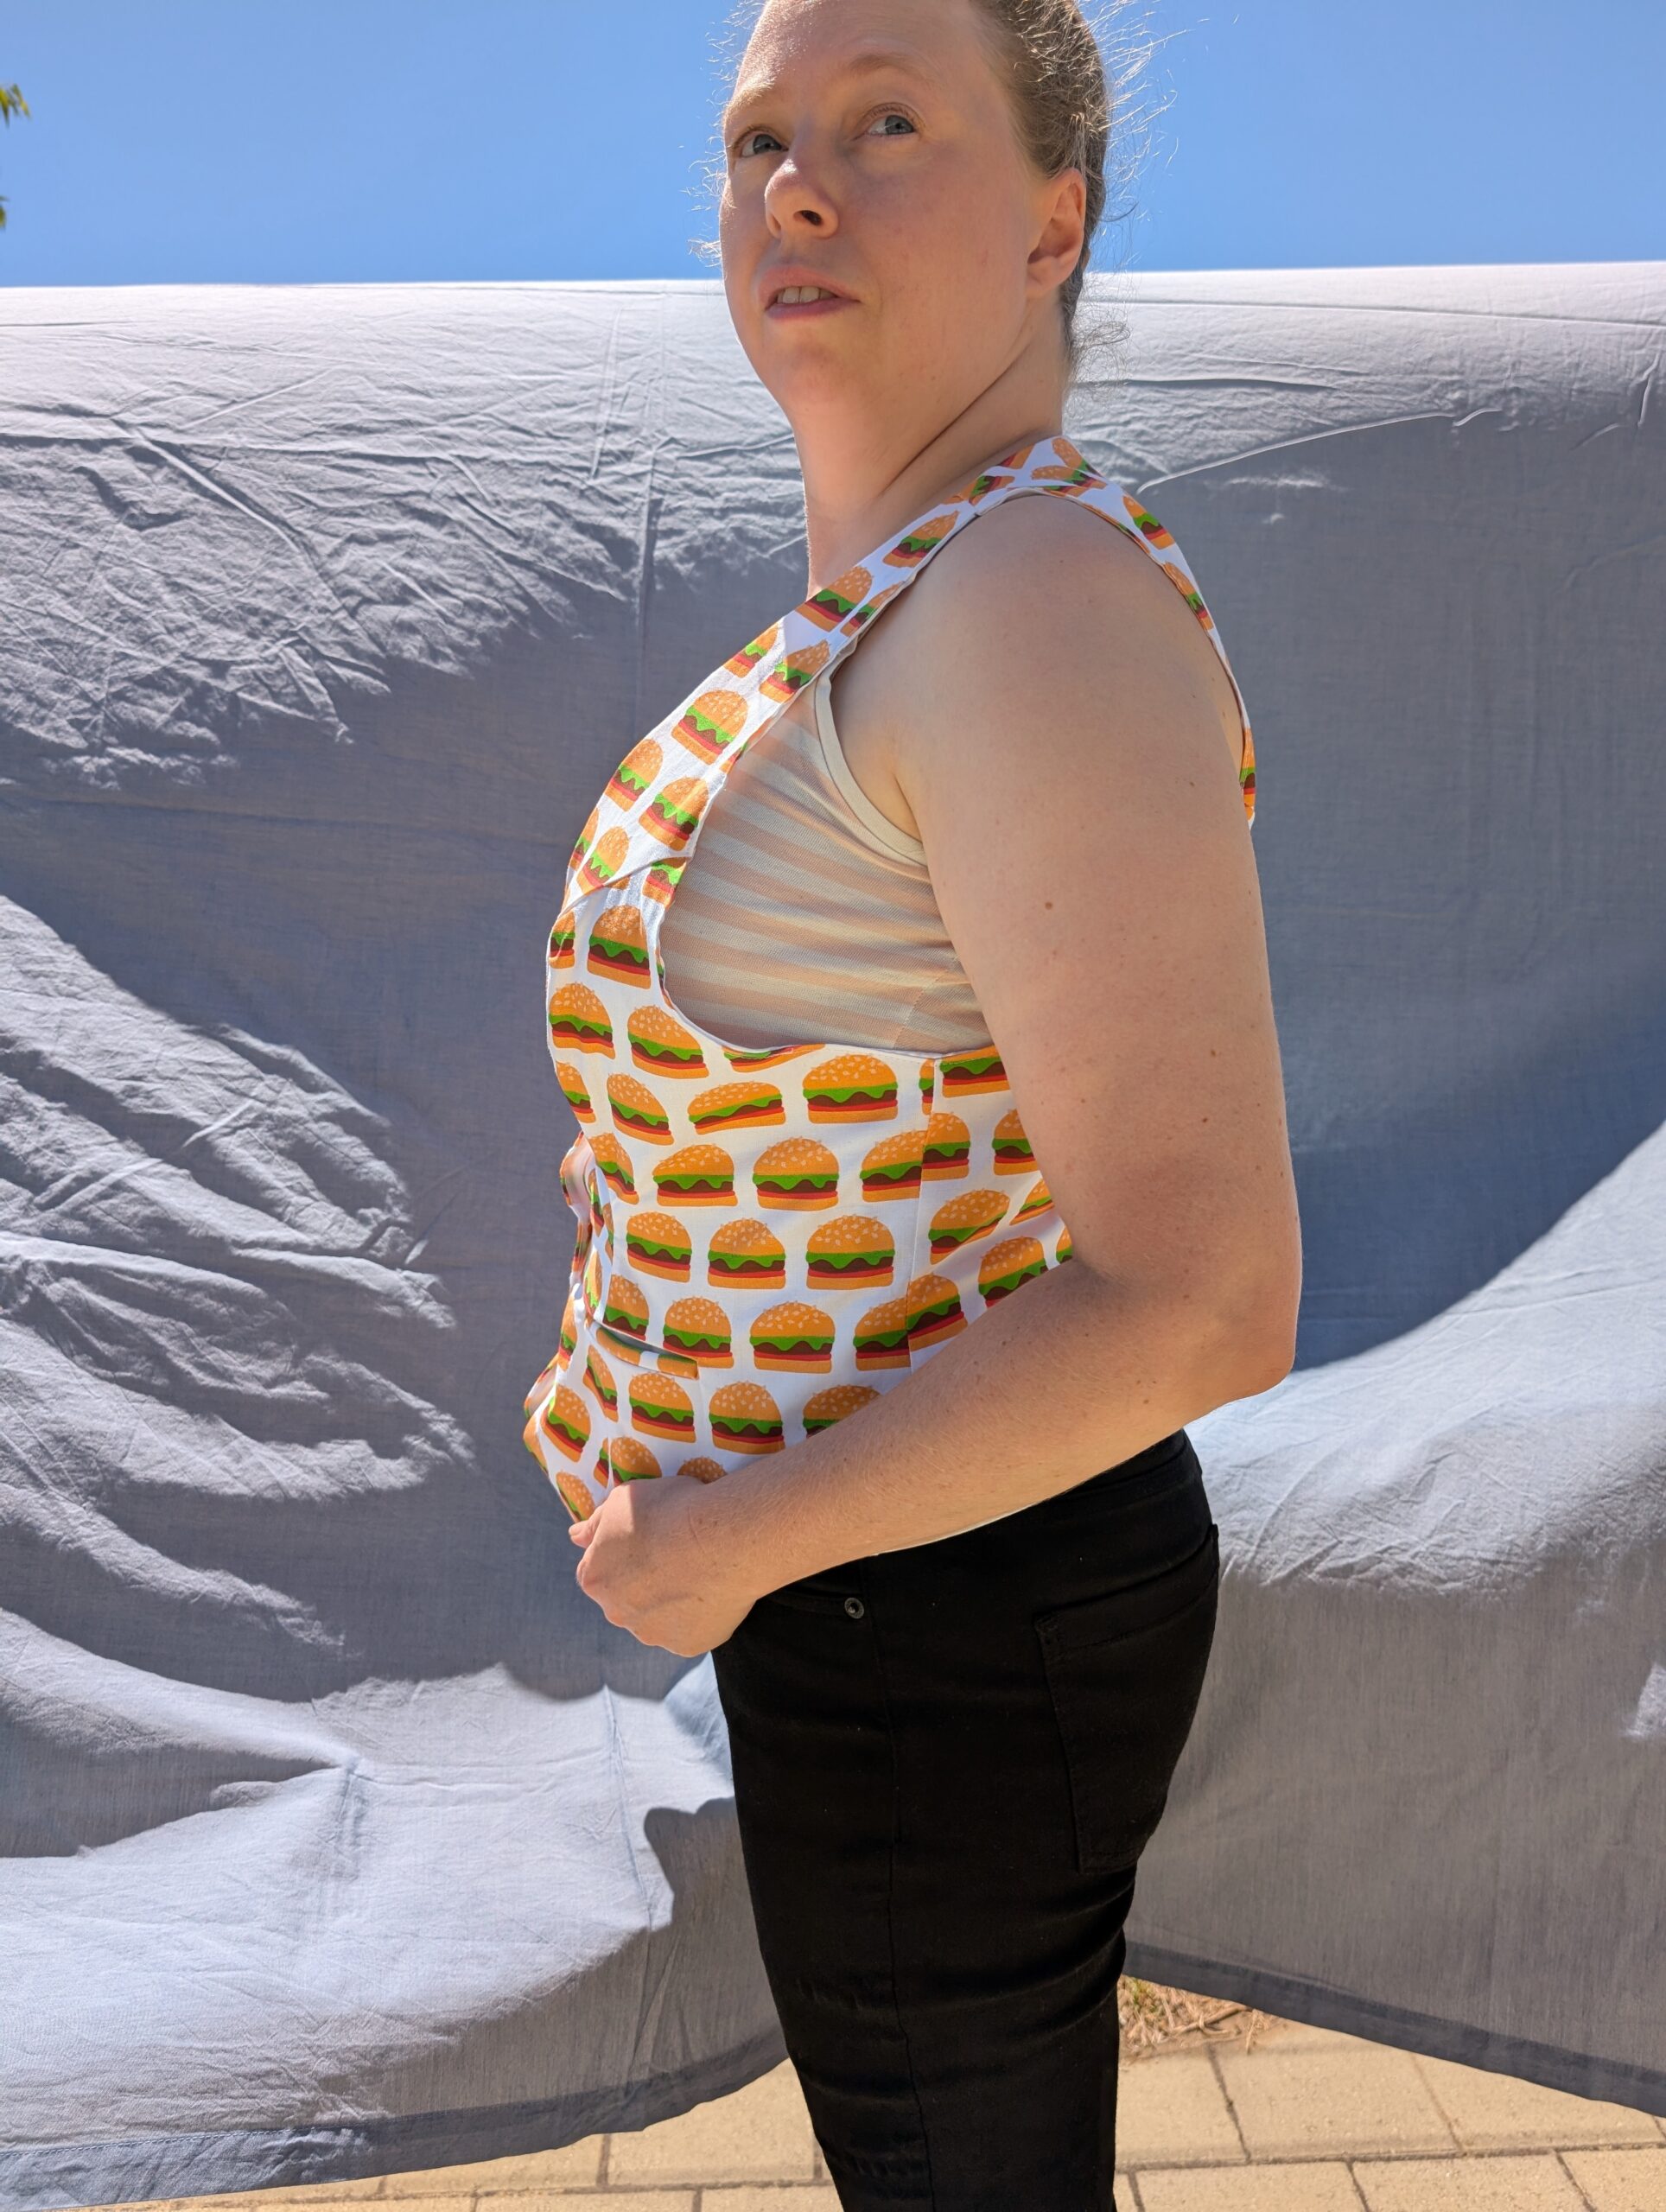
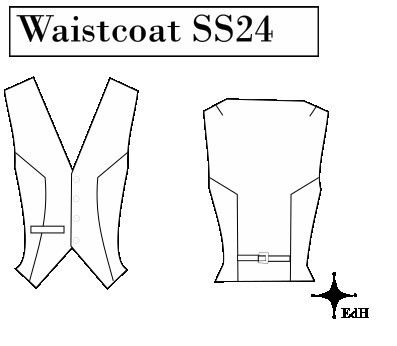
With all these thoughts of burger fabric and work pants I end up dreaming about it. In the dream a waistcoat in burger fabric came to me. When I woke up, I couldn’t stop thinking about it. So, I have to make it. I asked my boss if I could get away with wearing it to work, He said yes as long as it looks classy. He doesn’t look what people wear and doesn’t care. This did give me a challenge to make it look classy. I looked online to see what is consider classy. So far it has princess seams. I was hoping to be lazy and not do this because of the print. Second was a pocket to put your pocket watch in. At least include a chain. So, I added a pocket. Waistcoats need to be fully lined.
Before buying the burger fabric I needed I need to know how much fabric I need. So, I made a toile. Made a fully garment out of doona cover and white fabric leftover from my wedding dress. Doing the toile was great. It proved to me I only need 1 meter or less of the burger fabric. It wasn’t until I cut out the waistcoat and took not of the print of the burgers made me realise, I need a lot more. This was a good chance to learn about lining and relearn welt pockets.
White polyester satin fabric
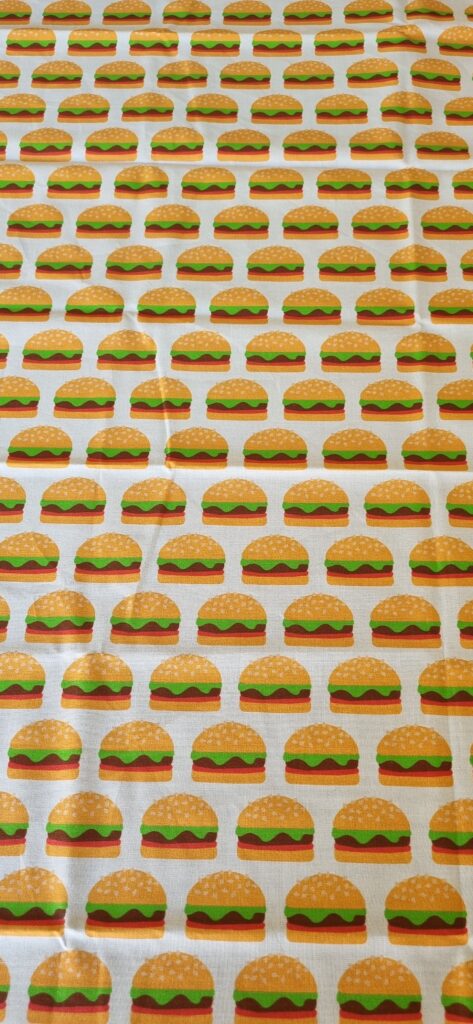
Hamburger Fabric buy Aloha Baby Spoon Flower $12.25
4 gold buttons Morley sewing center $8.80
13/2/2025
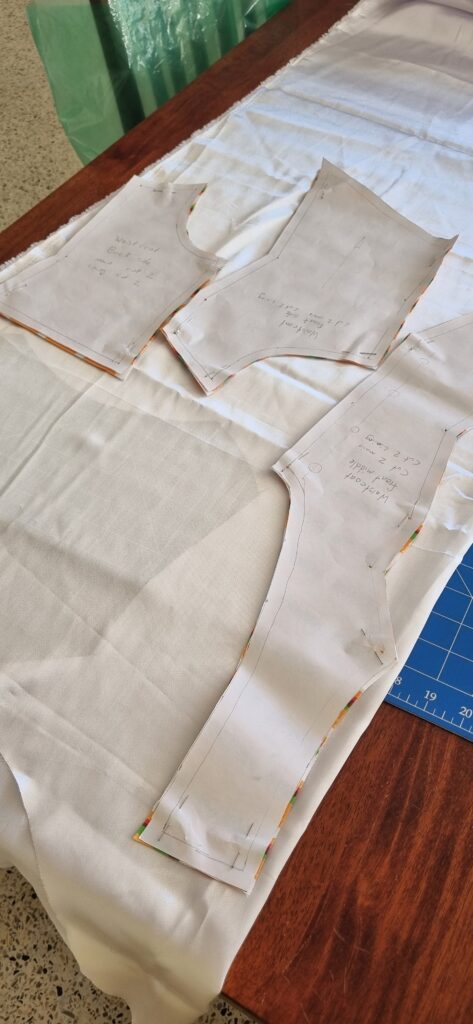
Luckily my cones of thread arrive today. Now I can get started and use the proper tread. Time to cut the fabric out. Since I cut the main fabric out when I did my burger pants, I just need to do the lining. I’m using a white satin polyester I have left over from the previous waistcoat and my wedding dress. This stuff doesn’t stay put so its hard to cut. Since I have used it to cut many other pieces out its hard to layout my pieces. Sadly, I have created a lot of scraps. At least with one it of the scrap I cut the pocket out. Maybe one day I can use up the scraps, so they don’t go to landfill.
17/2/2025
Finally, I have time to sew again. Let’s play some dance classics and get started. I did some test rows, and it took a few passes to find the right tension. I also had to replace the needle on my industrial machine for the first time. Yeah, it really needs doing. The satin polyester shows imperfections really well. Changing the need helped. Sadly, the needle is still too thick, and you can see where it punched the holes. I will make do with this needle. I also learned more about threading my industrial machine. With the thread guide I only need to go though twice not three times. Wow big difference.
Once I’m settled and happy with tension I can start sewing. I start with the darts. I only have two on the back. Then press them down.
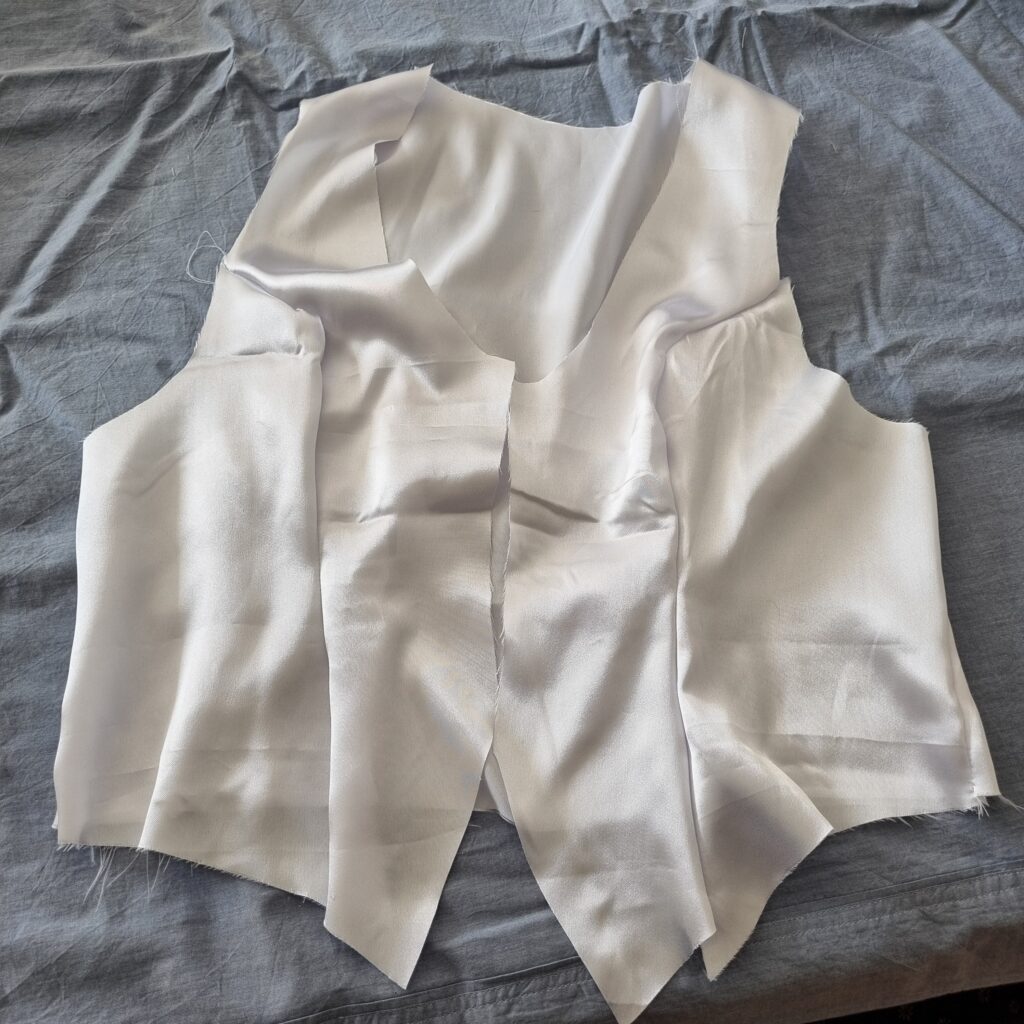
Oh boy sewing that satin together is hard. It’s so slippery and jumps around. I did it I sewn it together. It’s not perfect. I will use the fabric together. I have sewn the lining together. At least for now on this waistcoat will get easier. I had to do a couple of corners twice. There are a few faults with corners still. It’s the lining so I can live the remaining faults. I did forget to leave a gap in the lining to turn the garment out later on. Because of are annoying the fabric is it can stay until I need to. Then sew the shoulders together.
Before I get started on the main fabric, I need to get the straps ready. I draw the round tip on to the fabric so it will be easier to sew. I sew the straight sides as normal. Then I use the will to go slow and follow my guidelines. Sometimes its worth drawing those lines is. Afterwards at the tip I cut some of the excess seam allowance off and cut notches. I accidentally cut one notch too deep. I thought I would be fine. I used a chop stick to turn the straps right side out. The first one look great. The second one the chop stick went straight though. I turned it back to inside out and re sew the tip. At least this time it’s already cut so I can’t make the same mistake again. I gave it a good press.
18/2/2025
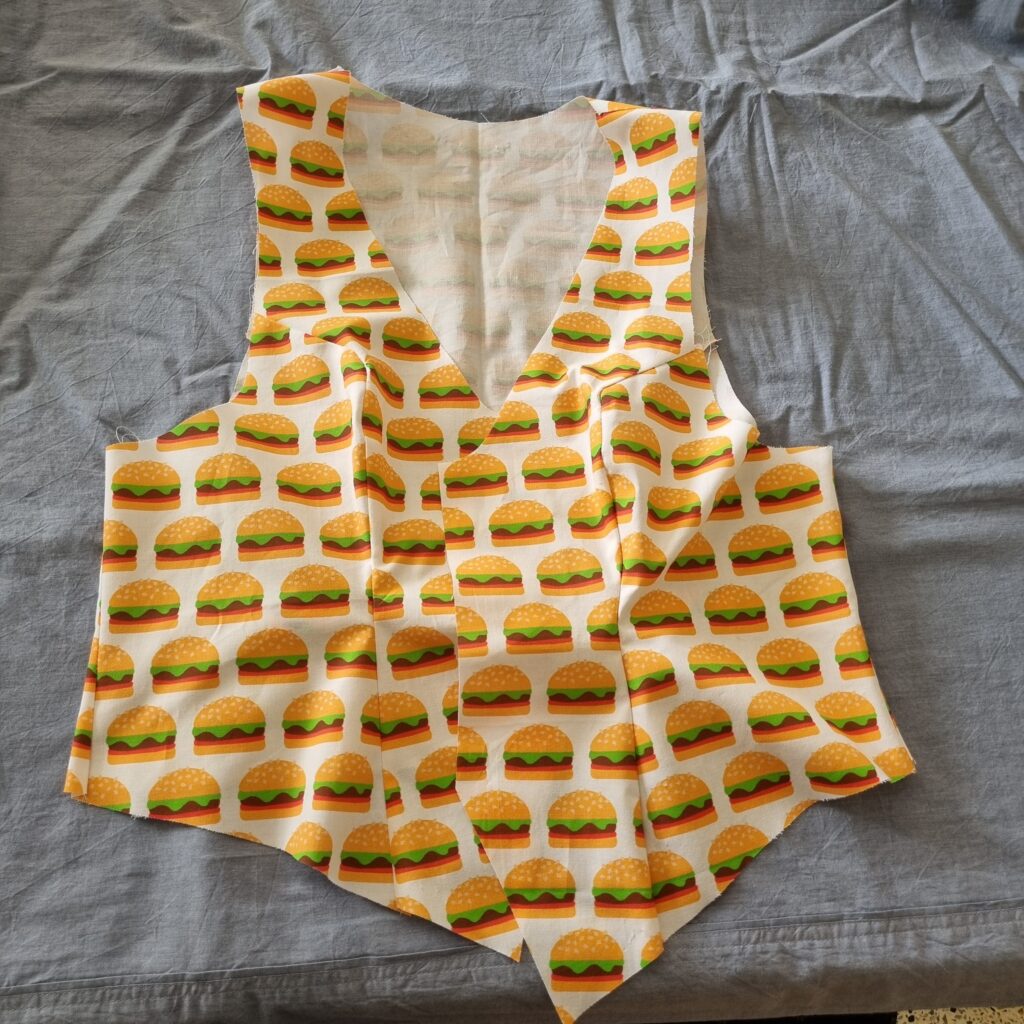
The main fabric is so much easier to sew than the satin. I used the main fabric and sewed together the waistcoat. Sure, the corners are hard to sew so this time I used extra pins going in at horizontal fashion instead of my usual fashion. This made it a lot neater. Sadly, on the side seams I lost bobbin chicken. Luckily, I already had a bobbin of white in reserve for this. Will need to wind a new bobbin of white for the future.
20/2/2025
Let’s put on some happy beats and get sewing. Time to do the welt pocket. I started by grabbing my pocket pieces. I stitched the main fabric square to the rest of the pocket. Then looked up and so this pocket. Turns out I need interfacing. Grab some interfacing and cut out a square to match the main fabric. Realise my interfacing is too stiff and wont fold nicely for my pocket. Go though all my interfacing to find something better. Turns out they are either too thick or too thin. I used the too thin. I cut a piece twice as long as what I need so I can hold it in half. Now to unpick the only sewing I have don’t to day to fix my mistake. I had to be careful with unpicking because of how delicate the lining is. After that was done, I can start progressing forward. Lining up the fabric, lining and interfacing was harder than just fabric and interfacing. I wanted to get it right so basting it all together along the edge will be ok.
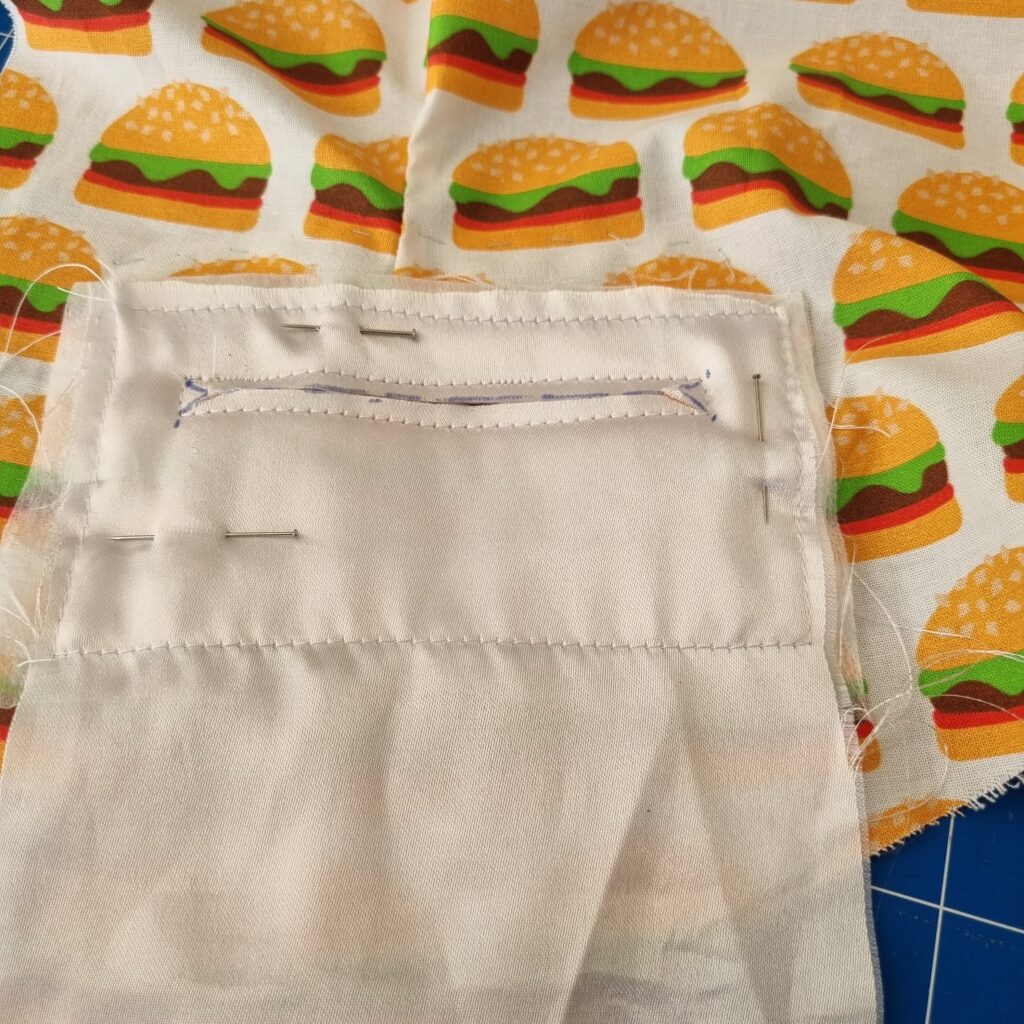
Next was to start putting the pocket together. On a closer look on the instructions on welt pockets I need even more interfacing. So, in the name of laziness, I grabbed the stiff interfacing I cut earlier, and hand stitched it into the inside of the waistcoat where the pocket opening will be. I did a long basting stitch in blue. I used blue so I will remember to unpick this in the end. This will help the pocket shape. Using the holes in the pocket pattern I marked dots on the waistcoat and pocket. I also took not so the burger pattern will line up. I doubled check the instructions and the two right sides together with pocket piece on the outside. I used the dots to sew a rectangle for the pocket opening. This would have been easier if a draw a rectangle instead of a bunch of dots. I used a pen to draw two triangles and a line. I cut along the line and triangles so I could flip the fabric though the pocket opening.
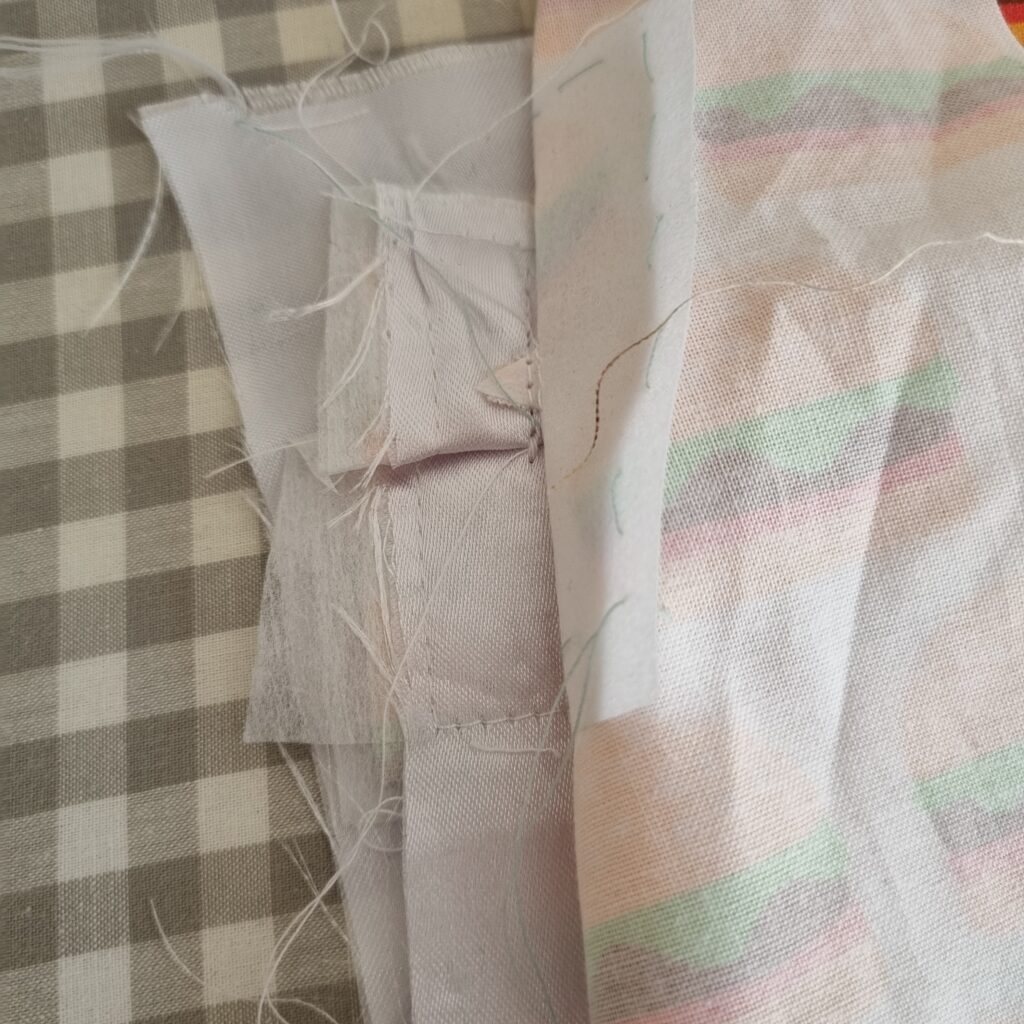
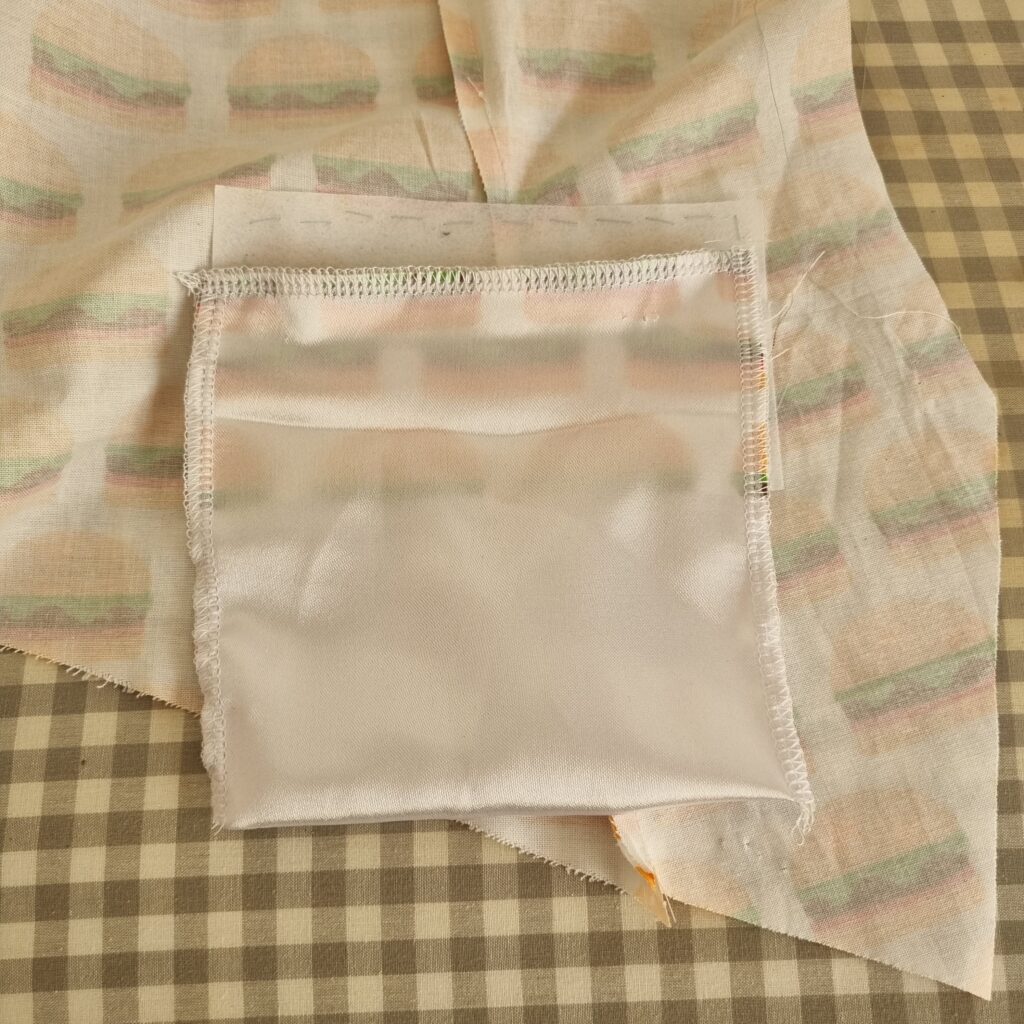
Make sure the triangles are big enough. That will come handy later. Iron the pocket flat inside the waistcoat. Then fold the fabric up to cover the pocket opening and then fold the fabric down from the top edge of pocket opening. This will create the welt. Sadly, the pocket fabric is upside down. The top buns are showing underneath burgers. Nobody will know when I am wearing this. This will be how secret. Sew it down along the side of the pocket bag. Make sure the triangle is caught along side and sewn down. Fold the pocket up so the top meets the bottom, and this will form the pocket bag. I used the overlocker to sew around the bag to close it and give strength. Thank you to Thread Theory design inc for easy-to-follow instructions with lots of pictures. https://threadtheory.ca/blogs/tutorials/welt-pocket-tutorial
22/2/2025
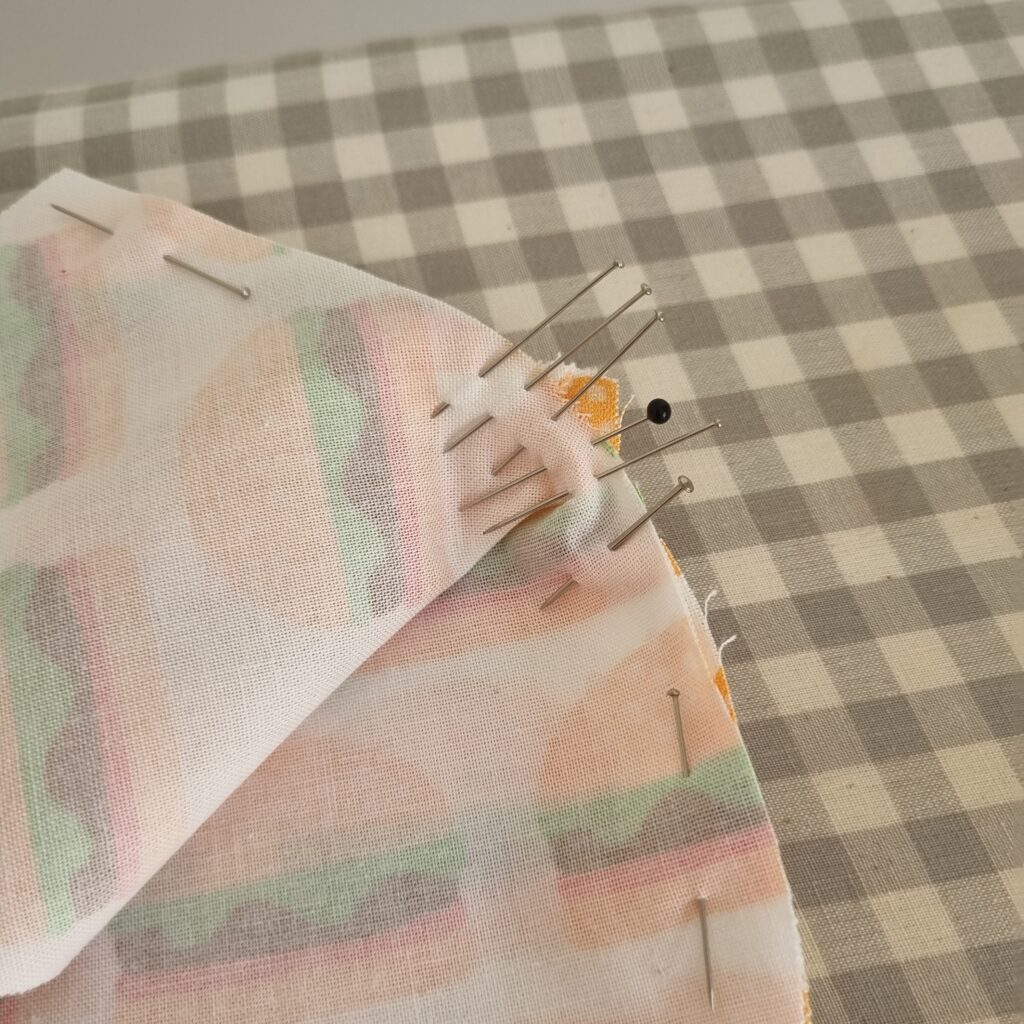
I pined the lining to the waistcoat along the neckline and front. The Hem wasn’t sitting nicely so I put my waistcoat on my mannequin and left it overnight. Well, that was two days ago. Today I sew the all that together and turned it out. It didn’t look too bad. Using the mannequin I pinned the hem and got to sewing. The mannequin is a big help in this. Sadly because of the wobbliness of my hem I didn’t stick to the one-centimetre seam allowance. Afterwards I sew the seam allowance onto the lining. Hopefully it will make it look smoother. Not sure if it needed it. The neckline does look more crisp then the hem. Sadly, while sewing the seam allowance down, I accidentally caught some of the lining in the seam. I had to stop and unpick a couple of times. I have my waistcoat sitting on my mannequin. I need to buy buttons before I can continue with this project. Can’t wait to finish it.
25/2/2025
Let’s stop making excuses and do these arm holes. With my waistcoat on my mannequin and working slowly I pinned the lining to the main fabric around the arm holes on both sides. Then slowly work my way around folding the edges in and pinning. This took a lot of pins. I try to start at the top. Fabric wasn’t willing to work like that, so I started at the bottom. Once I was satisfied, I took it over to the machine and started to sew. With both arms some of the lining unfolded. I had to unpick that section and re sew it down. Worth it when making it look good.
All that is left to do is buttons and buckle. I really want to put gold buttons on the vest. I did go though my button collection and toy with the idea of silver glitter buttons and black buttons. Sadly, it made the waistcoat look toy like. I need it to look classy.
27/2/2025
With buttons in and I can finally finish it. Pick something to watch on YouTube, settle down and start sewing. I used up the orange thread left over on the domestic bobbin. Feels good to use stuff up. I used the unpicker to slice open the buttonholes. The chalk marks I marked for buttonholes are in the perfect spot for buttons. Got lucky there. I put a gold vest buckle on the back. This time the straps are thin enough to fit though. I the waistcoat looks good on me. Sadly, the armholes stretched when I was sewing them so it doesn’t look as good as I want it too. Should have stay stitched those.
Leave a Reply