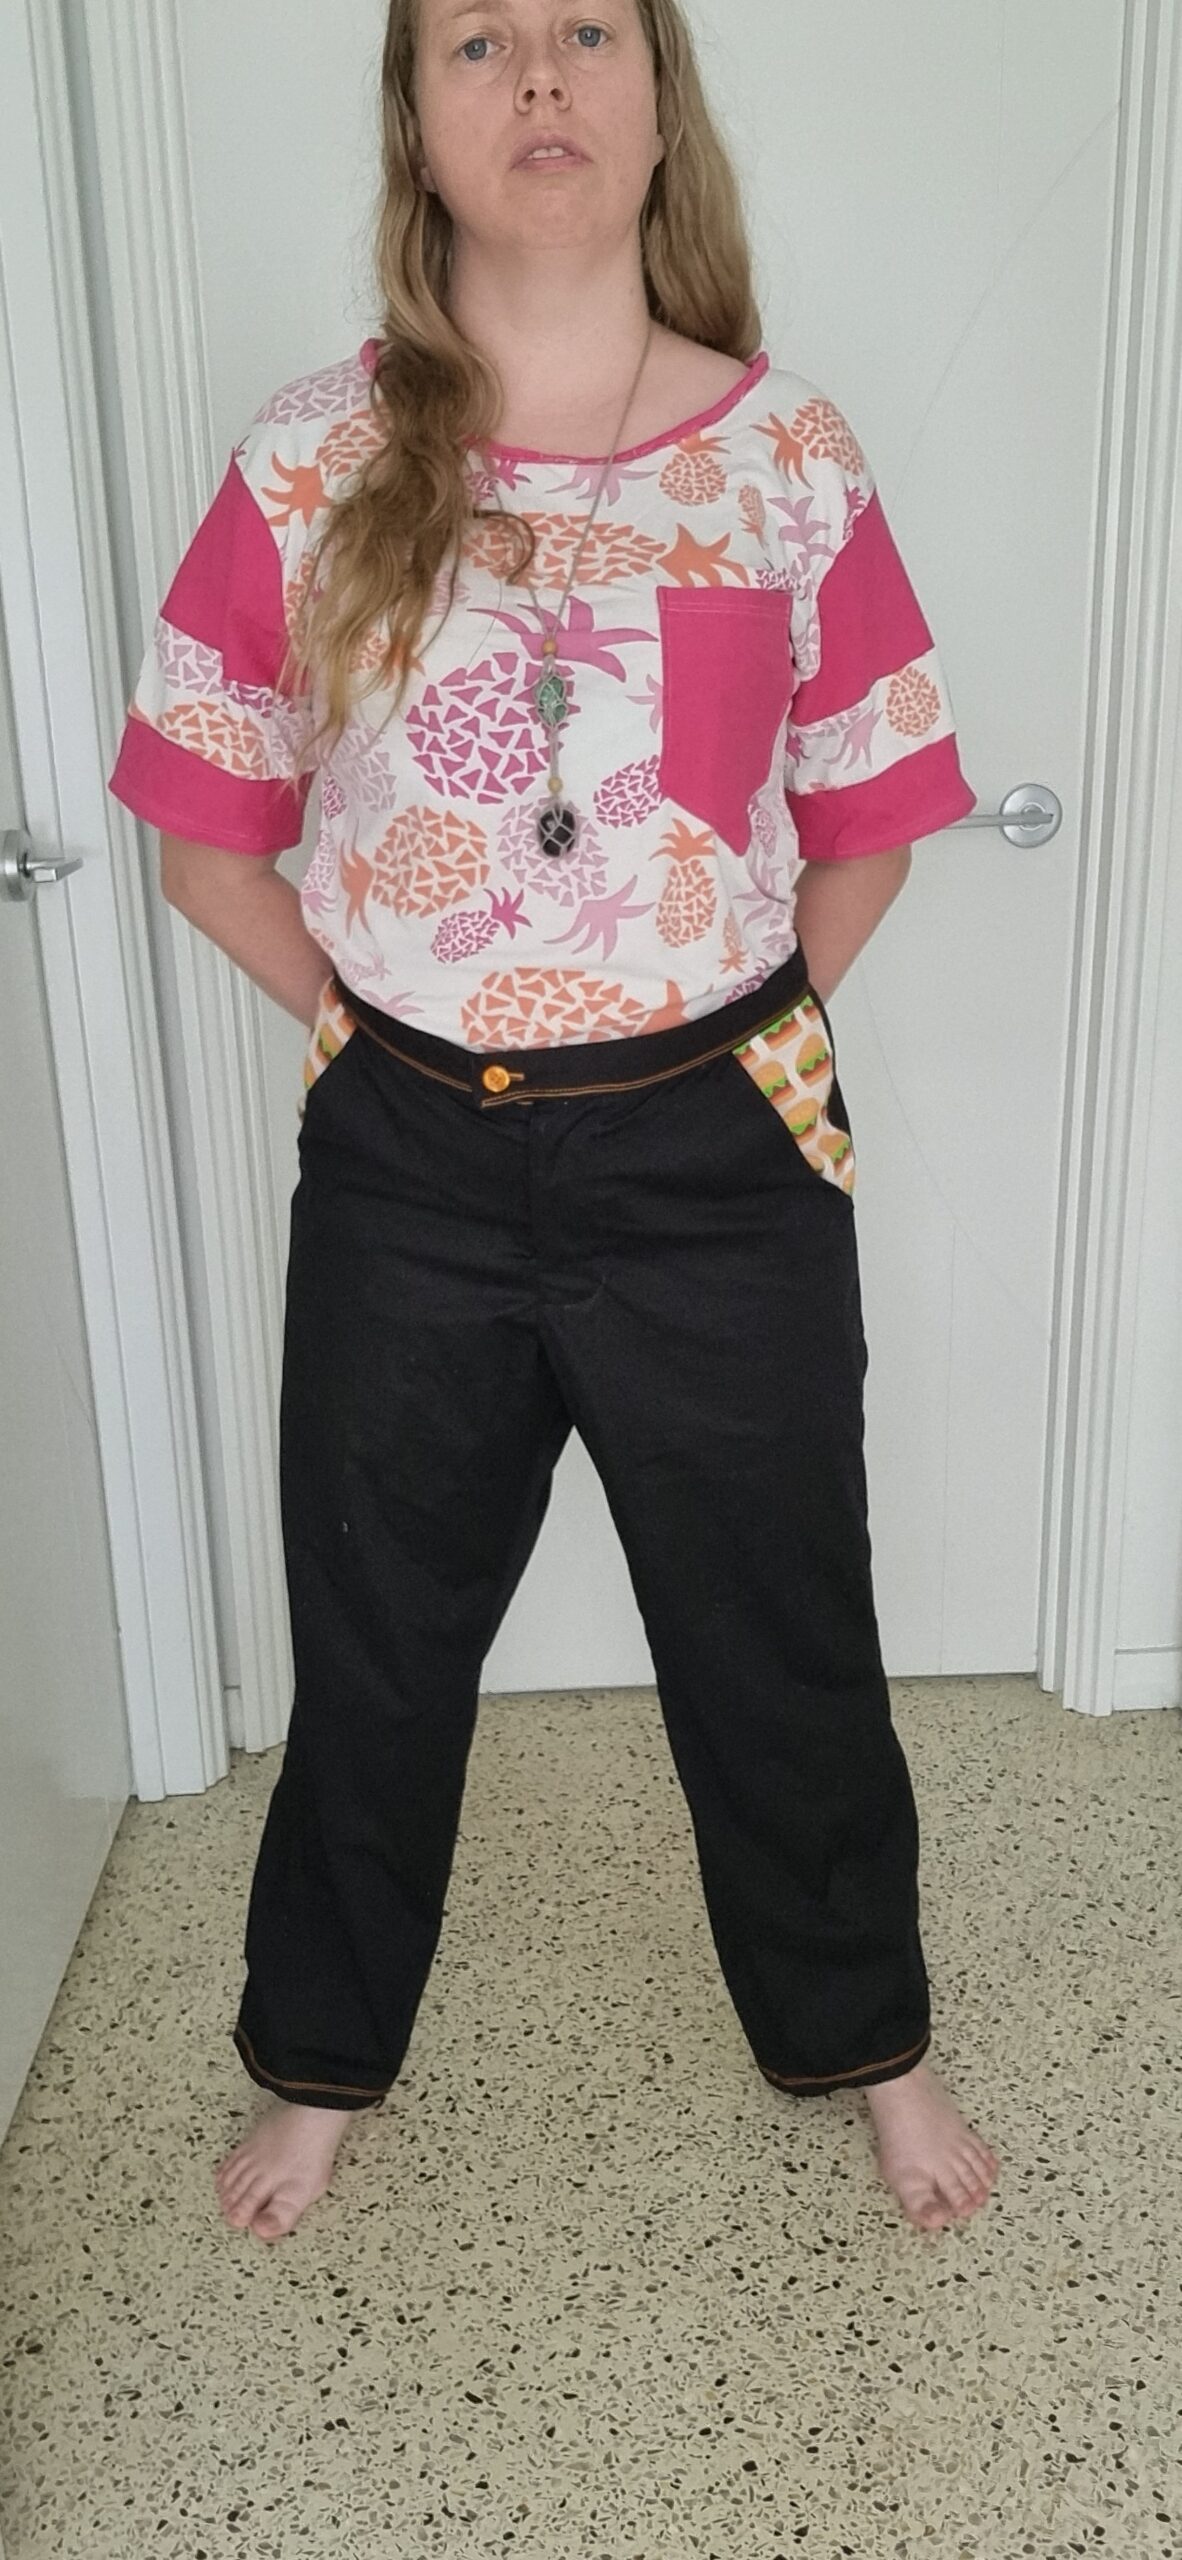
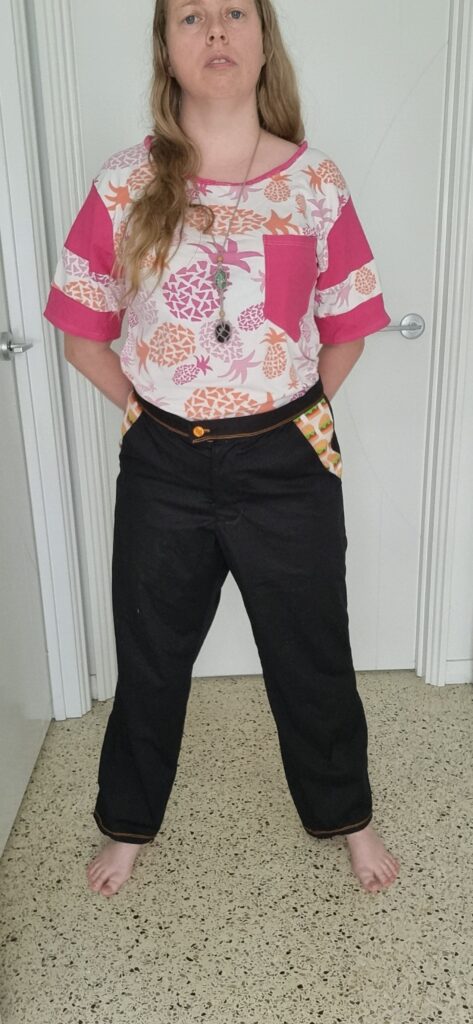
The inspiration for these pants was burger fabric. I work at a burger restaurant so I should put burgers on my pants. I’m Allowed to wear black pants as part of our uniform. Since I’m only doing pocket details it’s ok. I showed people the fabric at work and they love it. Sadly, I couldn’t use the burger print I originally wanted. It was taken off the market before I could get the chance to buy it. I will have to change the details of the back patch pockets, so it doesn’t look too homemade.
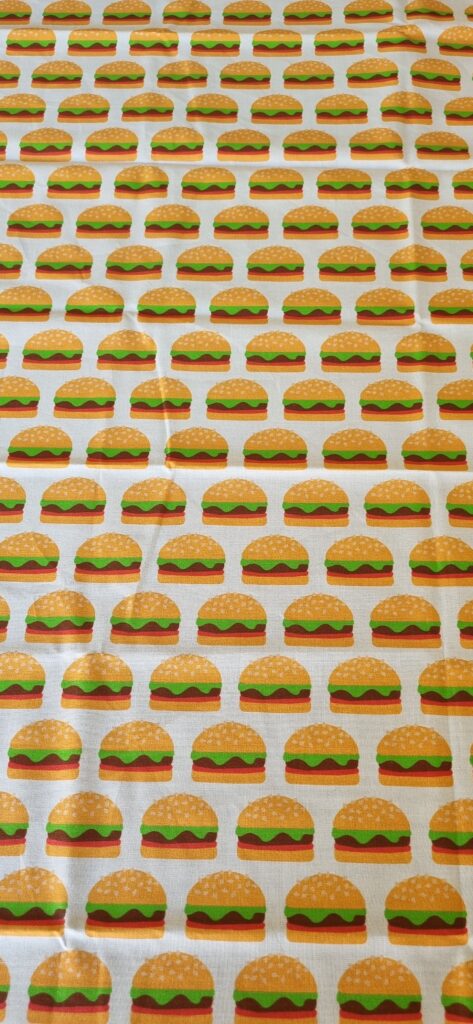
Hamburger Fabric by Aloha Baby
Spoon Flower $12.25
I have redone the pattern for my work pants. This time I made pockets easier to put my hands in. I traced the pockets from my shorts pattern. I found those pockets perfect. Also, I changed the fly details. I still need work mastering the perfect fly.
Well, it’s done. I cut the fabric out. It took a while to find the black fabric and make sure it is the same fabric as my pervious pants. Then I ironed all the wrinkles out. With good music or a podcast this makes ironing easier. I was listening to Hardwell at the time.
Laying out all the pieces onto the black fabric was easier than expected. I was a little worried I didn’t have enough black. Turns out I had more than enough. Got enough black fabric for a small project. We will see it that will be later. In the meantime, I need to concentrate on pants. The Burger fabric was a lot more Challenging. Since I was cutting out a waistcoat as well as pockets for my pants. Sacrifices were made. It was worth it. The part of the pocket you don’t see was cut in black. I mostly concentrate on laying out the waistcoat so the stripes match. Then placed pants pockets in convenient places. I squeezed waistcoat straps and part of pocket out of scraps. Sadly, I won’t have enough fabric left over for hair bow and bandanna. I finished cutting out the interfacing for waistband and fly. I will be using sew in interfacing because it was easiest to find.
13/1/2025
With my industrial sewing machine, I should be using industrial thread. This stuff I’ll have to buy online. I have a lot of domestic sewing machine thread it needs using. With some research I learned that Industrial is thicker and sturdier than domestic sewing thread. Industrial thread can handle the high speed and force given by the machine.
14/1/2025
The fly is done. It’s not perfect and I need a lot of practice. I used the instructions on this site https://lizhaywood.com.au/flying-high-mastering-fly-fronts/ . It was very informative. Place I have an old pair of jeans to the side to work out what side is side. After sticking the interfacing to the correct pieces and over locking I was so excited to try my new zipper feet on my industrial sewing machine. That wasn’t going to happen. Since the machine hasn’t been touched for 5+ years the screw won’t come loose. I have to wait a week and a half for my partner to come home. I did rage quit.
Well I really really want to finish these pants. So the next day I did it. Plan B, use the domestic machine. So I bought up a site I found that explains it well and got to work. Things got confusing from time to time and I wonder would this work. I need to not lose faith and do more flies. Practice makes perfect. After I finished my fly, I was so proud of myself. Once I mastered the fly, I will make a cardboard master pattern and seam guide.
15/1/2025
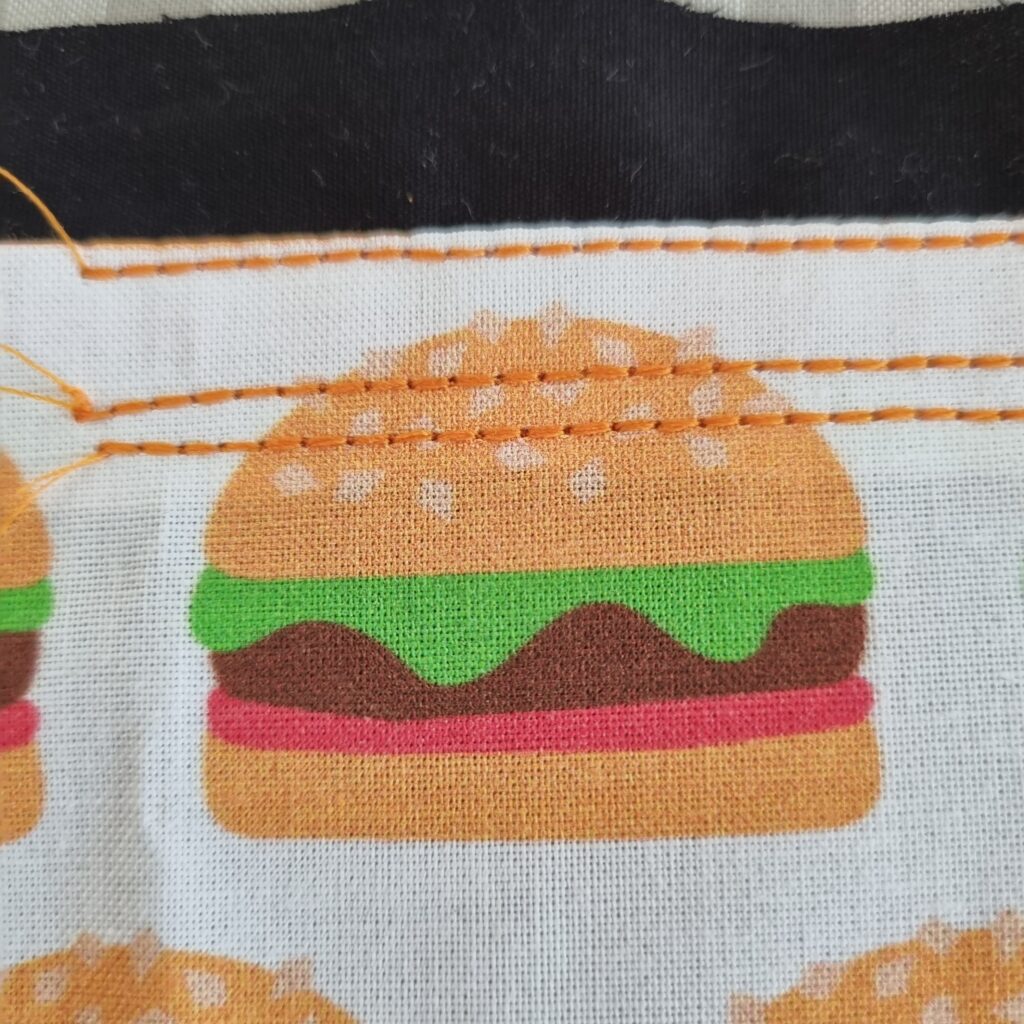
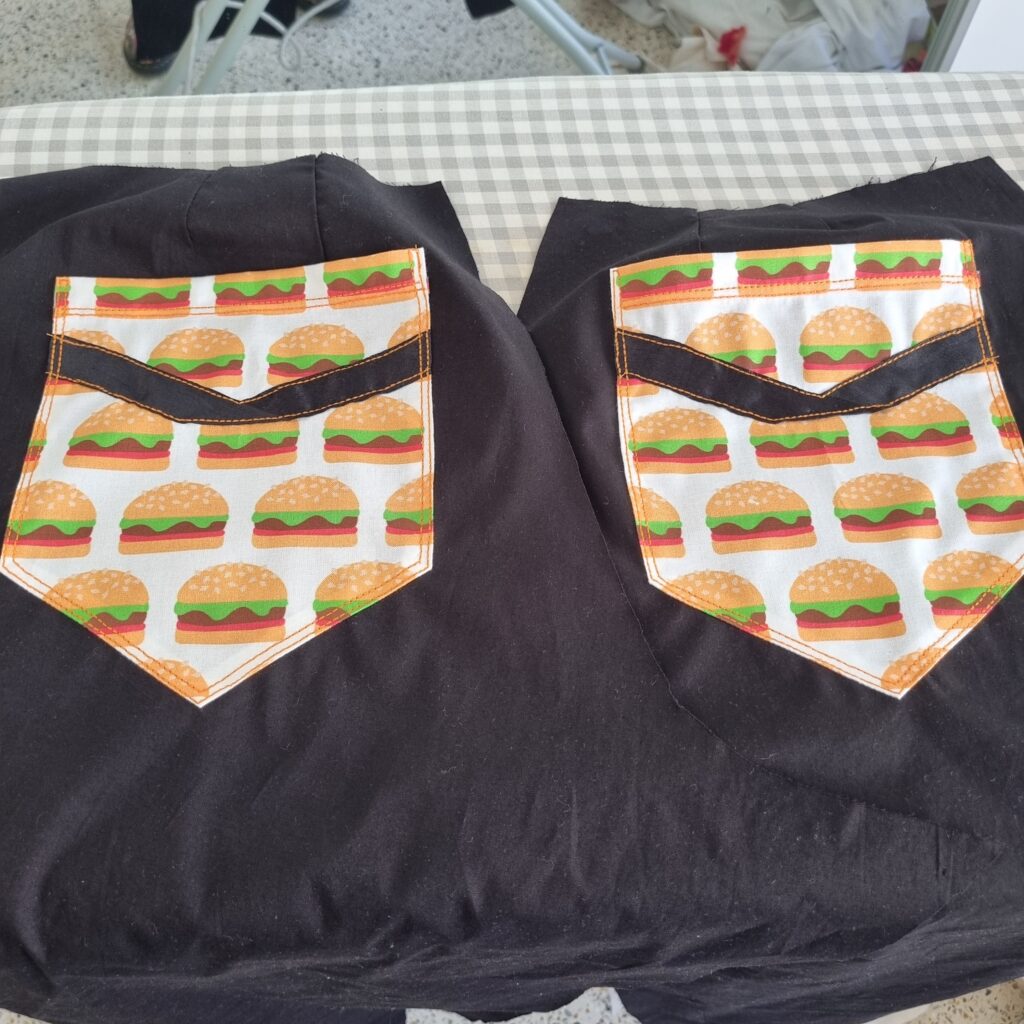
Since I couldn’t use the original fabric, I wanted to use, I felt I needed to do something else to the back patch pockets to make it look better. I cut an extra set of back pockets in black just in case. Many crazy designs floated around my head, use the other pockets so add features. Than at the last minute I realize I could get away with black ribbon. I played with different ideas including a slash across. I don’t want to look anti burgers so I scratched that idea. I settled on a shallow V. With my domestic machine I used the double reinforced stitch in orange to stitch it down. I thought it would look good. The double stitch makes it pop more compared to regular straight stitch.
Once the pockets are perfect I used the pattern to place the pockets into the perfect position. Than I stitched these pockets down using orange double reinforced stitch in to rows. Yeah they are not coming off. I posted a photo on the work chat. Several people liked the picture. Boss said they look epic. I’m glad I can get away with such fun clothes at work.
16/1/2025
Sew the 2 back pieces together than move on to front pockets. I don’t know what I am doing and just winging it. Well that didn’t work. First I sewed the pockets together. Baste the top and run it though the overlocker. Than I stitched the first pocket to my pants and flipped. Now I see that I was meant to sew on to pants than sew pockets bag together. Mistakes are part of learning. Let the unpicking begin.
20/1/2025
Ok let’s do a better job at these pockets. This time I sew in the inside part of pocket to my pants. Then sew the seams the seam to pocket. This will help the pocket stay inside my pants. Then add the big pocket piece to the pocket sew into pants. This was hard to do since I’m struggling to control my new industrial sewing machine. Then I overlocked the side seams on pocket. Strong pockets are important in life. This time my pockets worked. I basted the pocket to the top and side of pants. Did it close to the edge so it will be in the seams.
On the inside of the leg, I did a welt seam for strength. I watched a short on YouTube a few days ago. My attempt was no where near perfect and involved a lot of unpicking. First, I sew the inside seam 15mm in. I add to use a ruler to find that in my machine since it’s in inches. Then I cut roughly 5mm off a side of the seam. I only eye balled this measurement. Fold the larger seam edge in to meet the seam and eye down. Next I ironed the seam in so the edgers was all enclosed. Ironed then sew down. I was impressed with self on how well I controlled my sewing machine. Then the reality of what I did hit. I did it wrong. Opps. I grabbed the unpicker and undo all my hard work. The important part of making mistakes is learning from it. I went back to the ironing board to re iron the fabric this time with the legs open and seam in the middle. This time sewing it down with nice control. After I finished the other leg I noticed that my seam in on the inside of my pants instead of outside. Well it looks smooth and nice. Just worried about my chaffing thighs. We will see what happens. Next time I get this pattern out I’ll change the inside seams so I don’t need to cut the fabric after sewing. I’ll make back legs seam 15mm and front leg seam 5mm. I will need to take not of this so I don’t make mistakes, like put both seams together like I normally do. Rember practice makes perfect.
21/1/2025
A new day and back to sewing. Time for the side seams. With my pervious work pants the fabric has stretched and it doesn’t fit anymore. Since I am using the same fabric, it’s bound to happen again. I need to pull them in when I stop being lazy. Taking note of this I did things a little different this time. First, I overlocked all the side edges before sewing them together. This way it will be easier to take them in. Then a good press with the iron making sure the seam allowance fold away from each other.
Waistband always looks easier. The end is in sight when I get to this stage. My waistband is in two halves along with the interfacing. I had to baste stitch the interfacing on to the waistband since it’s sew on interfacing. Easily done. Then I sew the to halves of my waistband together. Next is to iron the waistband to make things easier for later. On one long edge I fold in the seam allowance by 5mm and iron down. I have to be careful not to mess up or melt my interfacing. Then I realised that I need to sew the ends, so it looks neat when I put it on my pants. Especially at the front. As I was pining it on to my pants, I realised my mistake. I should have noticed earlier when I saw a not on my pattern saying “5cm too short”. Yeah, it was right it’s too short. This annoyed me a lot. I took a break and had lunch. Regroup before I get back to sewing. I can see where I went wrong. This is a mistake I have made many times before. I have not included the fly shield into the measurement for the waistband. I grabbed some of the scrap of black I got next to my machine and cut out roughly 5 cm. I didn’t measure the length, just the width. I seam ripped the waistband apart and sew in the patch. No one will notice when I’m walking around in public. I re ironed my 5mm seam allowance. Then I got pinning my waistband to the pants. This time it’s a little long. I just sew the bit to look neat when I fold it out. After sewing I cut the corners off, so it sits neatly. Waistbands are something I definitely need practice with. This time I experimented with sewing it on the right side first so she will look eat when I finished. The fold over and sew it on the wrong side. It is not perfect. I should have done this the other way round. Next time maybe. I need practice with flies and waistbands. I still went on. On my domestic machine I got start on the decorative stitch on my waistband. Here I did two rows of reinforced stitch in orange. I really should have ironed my waistband before this. I have almost finished the spool of orange. I have a spare in the same colour. It is exciting to finish up a spool.
22/1/2025
Buttonhole. Should be a quick easy job. Nope. I always do a test buttonhole before I start. I can never remember my machines process. Also, I have the instruction manual open up next to me. The machines sensors had trouble measuring the length. I had to unpick and re do the buttonhole twice on my sample. Finally, I got the buttonhole done. Slit it open and test the size. All good the buttonhole works. On to my pants to do the official buttonhole. Things should go smoothly, right? Wrong. It took four goes to get it right. So much unpicking down on my poor pants. I slit it open and retest the buttonhole. At least the hard part is done.
Next is sewing on my button on. I used a pin going though the buttonhole to mark the location. My domestic sewing machine can sew on buttons and does a neat job. Plus, I bought the button foot as an extra. Since I’m using a four hole button I found in my button box, I had to sew it on twice. That was easy. Yes, the machine used the stop stitch twice. I just see that as giving it strength. When the machine was done, I left a long tail to finish the button. At school they taught us to wrap the stem of the button to give it strength. So, with that long tail I did just that.
23/1/2025
Finally, it is done. Today’s mission was hemming. I texted my mother to come over and help. Fitting is a two-person job. You really do need the other person. She has been sewing all my life, so I trust her to do a good job. The waistband is a little wide on me. Will need to look at that. The hem got turned up a fair bit. So, they sit just above my feet. I cut off the extra fabric and left it an inch from the bottom. I ironed the hem up and folded it in a bit. After a good press with the iron, I could begin sewing. I carried on using my decorative stitching on my domestic machine. Two rows of reinforced stitching in orange. A great pop of colour. On the second leg the spool run out. Took me a few years to use up 250 meters of orange. Glad a had a second one of the same colour so I could just keep going. So happy the project is done. Can’t wait to start wearing it to work.
Leave a Reply