
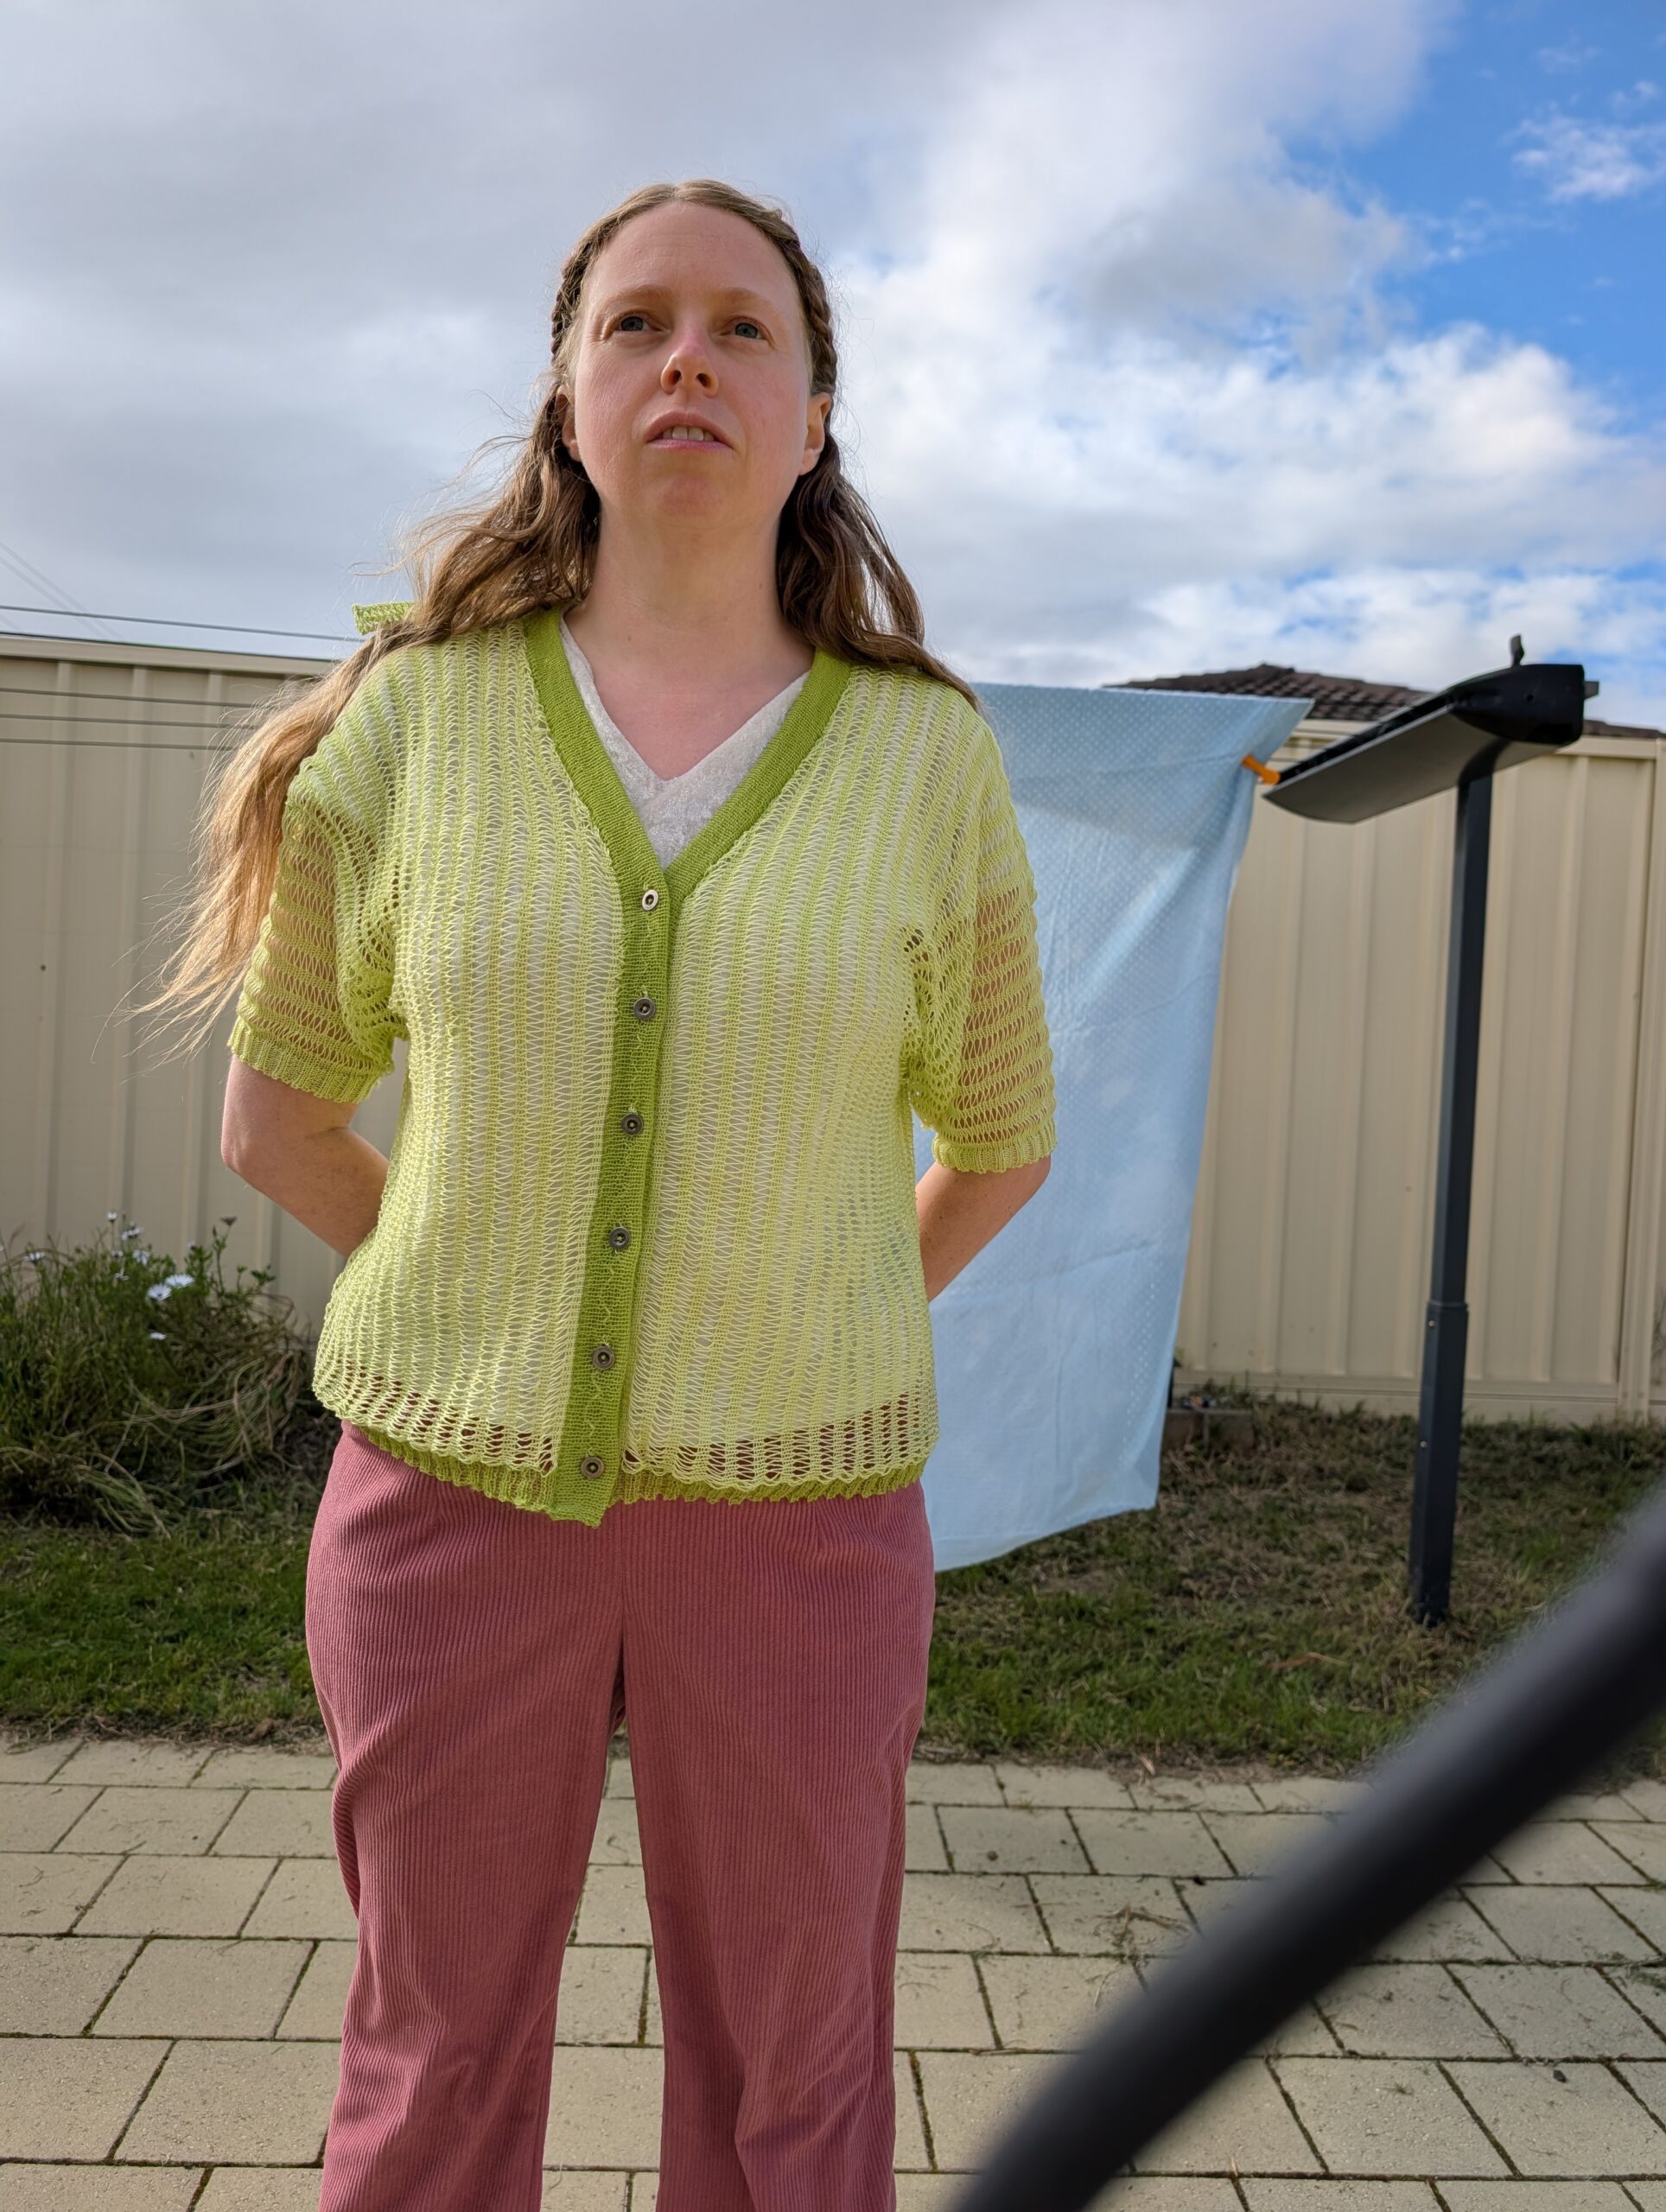
With the experimentation of the elongated stitch, I got thinking about turning it in to a cardigan. It would look good as striped going down my body. This would mean knitting a garment sideways. I have never done this before. So, this could be in interesting learning experience.
If I chose to make the shapeless, I could do the front and back side less. Only needing slits for the armholes. To make this easier I picked a deep V neck cardigan.
Patten Drafting
Opening desighnaknit I get started with the pattern making. I chose being lazy and use the standard measurements that are just bigger than mine. The program has given me the perfect shapeless cardigan to work with. Next is to rotate the pieces so the computer knows I want to do this sideways. I move the pieces into place. This took a while to work out that all I need to do to move the piece is right click on the piece and drag into position. Lucky the snap to position and my hem will all be lined up. Now to join the pieces. I couldn’t find information on how to do this. I worked it out by playing around. I click Piece than join. Click the two points I want to join. This too way to long for me to work out. Now all the pieces are joined and renamed as BODY. I check it in the knitting program, and it will fit my machine. The sleeves I left alone.
Test Swatch
I have chosen to this thin green yarn as my chosen colour. Sadly, it has been sun damaged. Well, I need to use it up. It is a really thin ply.
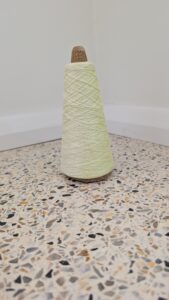
I got started doing a test swatch. Cast on 80 stitches and do 4 rows. Now I start the elongated stitch. After my second row of elongated stitches I realise I can’t just wing it. Let see if I can do this in stitch designer.
In Designaknit I create the stitch design using a tuck stitch to represent the elongated stitch. The plan is 4 regular rows than 1 row of elongated stitches. I added an extra row to show how long it is.
Back at the knitting machine I mark the stitch 20 on each side and get started on my test swatch. After 4 rows I learned that the computer can’t keep up. I am counting the 4 rows between the elongated rows. After 20 rows I see that the design doesn’t fit smoothly. One section between the elongated stitches has 8 rows. I will need to fix the stitch design. I still finish the swatch. To make sure it is finished I counted to make sure it is accurate.
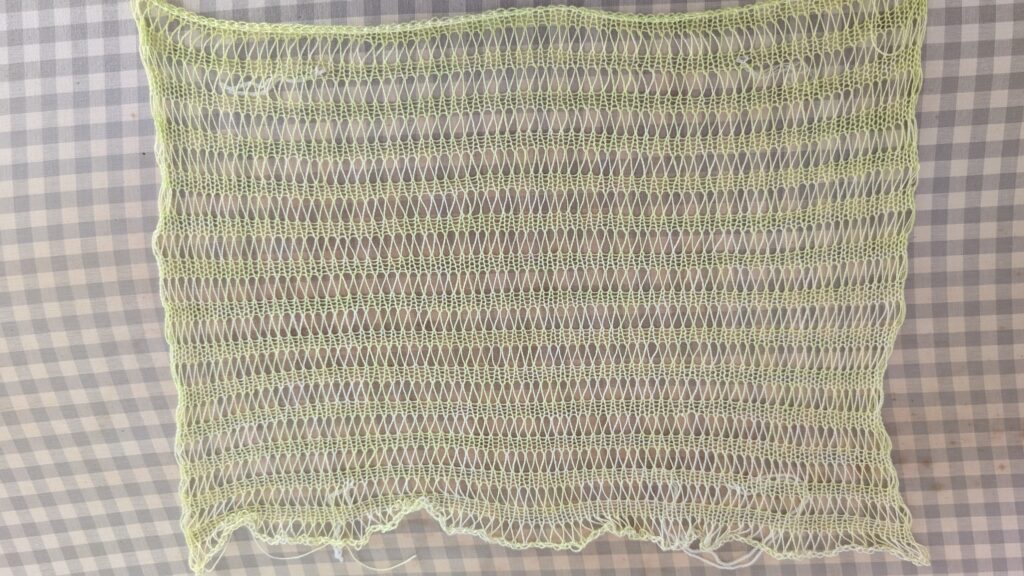
Fixing the stitch design was easier than expected. I just went over it with the correct stitch and got rid of what I don’t need. The stitching looks even better. While I am at it I also input the new tension numbers. Can’t wait to get started with knitting my cardigan.
Tweaking the Design
Over the week I have been thinking about this jumper. This is so thin it is better off as a shirt. So, I will make it short sleeve. In designaknit I shorten the sleeves, so they are only 15cm long. Next is to expand the cuff. The cuff is ok for my wrist. Measuring my arm I need to expand to 24cm. though 30cm looks better. I went with 30cm.
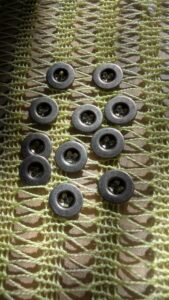
To do up my cardigan Sliver press studs was on my mind. I have never done press studs on a knit. Plus I will need to go out and buy some. So I raided my button stash and pulled out these awesome metal buttons. I will use these.
Knitting Time
With my liked songs playing in the background, I get started. In red I do 21 rows of waste yarn and 1 row of my unravel cord. Then I short break to do the laundry.
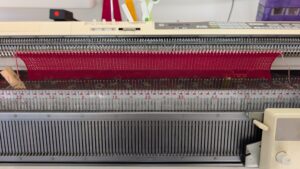
Now we switch to the green and do the jumper. 4 rows of knit 1 row of elongated stitch. Front neckline done. So far smooth sailing. At row 15 I did have to put stitches back on the needle. At one stage I forgot to turn off the part button, so I add to go back and re do that row.
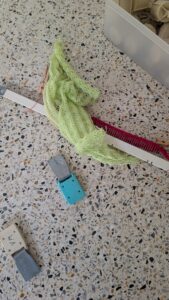
At row 74 just before I get to the armhole I failed. I forgot to press the part button for the elongated stitch so it all fell off.
Saving my Knitting
When I got home yesterday from work, I had time. So, I sat down at my machine and re hang my knitting on my machine. Using the elongated stitches because they are easy to see. I rehang each stitch. I went down by 3 elongated stitches. So, I lost 11 rows. To make sure everything is ok I put the tension bar and weights back on and did 2 rows. I did it I can go back to knitting. Feeling so proud of myself.
First Armhole
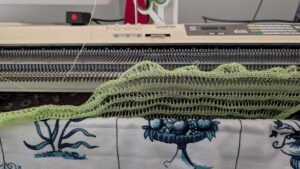
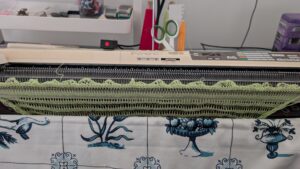
The silt for the first armhole is done. The stitch design didn’t fit well with the split. So, I did these 2 rows after. It’s still not perfect. Straight after recasting on, I started the elongated stitch. Hopefully I won’t have issues when sewing the sleeve on.
Row 108. It falls off again. This time it did 10 stitches and every other fell off.
Back to Knitting Again
Well after a break to calm down I re hang my knitting on the machine. Somehow I added 2 stitches. I went back over to replace dropped stitches, remove empty needles and free stitches caught on the gate pegs. All is good.
Listening to the album SOMA by Skillex. At 134 rows I place a marker for the neckline.
On the 163 row it falls off. This is my fault for not closing the tread holder. So I’m going to call it done for today. At least I am halfway there.
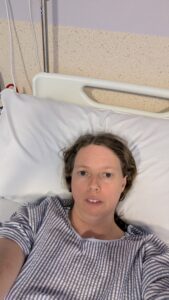
I have had a big month with no time or energy to knit. I had to go to hospital to get tested for Endometriosis. It’s official I have it.
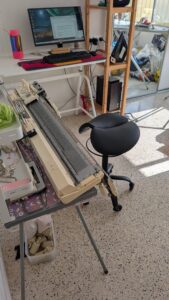
Also, I have bought a saddle stool. Since I am already sitting wide legged at the knitting machine, I may as well have the chair for it.
Back to Knitting
While listening to a few podcast I rehang my knitting back on my machine. My new stool is too high, so I switch back to my old computer chair. I tried to hang it on the machine be the long loops. This didn’t work. So, I went with the row below with the regular stitches. Less issues here. Next remove the 6 pervious rows. A couple of stitches got caught so I had to use a tool to free those. On Designaknit I went back 6 rows and set the knitting machine counter to match. Well so I thought. Turns out I set this number to how many rows to go not how many I done. Once I realised my mistake I fixed it.
Things went smoothly while knitting. It didn’t fall off the machine. I did have to be careful to make sure nothing fell off the machine. After doing the elongated stitch I had to be careful pushing the needles forward. First time didn’t go well. Made me realised how much I forgot over the month. After 10 rows I settled into a routine and cut back on mistakes.
I finished for the day on 205 rows.
More Knitting
Now that I have a weekend I can knit again. I did start my chores and grocery shopping. While listening to podcast I did 30 rows. Now I am up to the second armhole. The issue here is lining up the armhole slit is next to the elongated stitches.
I chose to put the elongated stitches 2 rows after armhole slit. The next row of elongated stitches are 2 rows away in the normal place. Just as my pattern request. After 20 more rows I am calling it done for today. The sun is setting. Looking forward to tomorrow when I have time for more knitting.
Finish the Body
Boring housework is done now to knit. Today’s goal is finishing this piece. After an hour of knitting, I am finally up to the neckline.
Finally, it is done. While listening to the Fallout Lore Podcast I finished it. It feels good to finally finish it. Next, I need to block it and do the sleeves. I am worried that I don’t have enough yarn.
Right Sleeve
At last I have time do knit again. The green cone of yarn is getting thin. I am starting to worry that I don’t have enough yarn. I will do a thin hem on my sleeve.
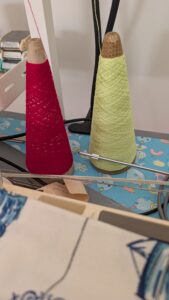
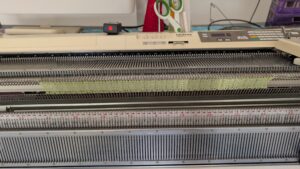
I cast on for rib than chose to do a 2 by 2 rib. Including cast on row I did 11 rows.
After 44 rows the right sleeve is done. Hopefully I have enough yarn to do the right sleeve. I put a pink clip on the sleeve so I will know it’s the right sleeve.
Left Sleeve
Break is over. Time to knit the left sleeve. I’m listening to Mint on Spotify. 10 rows of 2 by 2 rib done for the cuff. Casting on didn’t go well so I had to redo it. Sadly, it took two tries to cast on. Since I wasn’t feeling well, I took a 10 minute break. I want to get this done so I must go back and finish it.
Sleeve is done. I won at yarn chicken. I only have enough to sew the shirt together. I will need to pick a different yarn for hem, collar and button stand.
Blocking
A few days ago I finally had time to block my knitting. First clean the kitchen counter and put down the blocking mats. With my hem being the full width, it took 2 wires. The center I used blocking combs to pin it down. I refilled my iron and set it to steam. With my iron hovering over the yarn, I blocked my knit. Remove the blocking combs flip and steam the over side. The sleeves I did both at the same time. They had to have their own wires. Doing it this way made lining them up on the grid of my blocking mat easier. This way I know both are the same length. A good blocking as relaxed the fibres, and they look so much better.
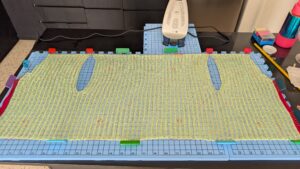
After blocking I settled down in front of Netflix to watch Anne with an E while I sew my shirt together. Using my knit safety pins I pin together the shoulder seams. I made use the stripes match. The shoulders took 2 days to sew.
Next is to add the sleeves to the body. Before I can do that, I need to sew the sleeves into a tube. So, I Safety pin together and sew. Anne with an E playing to keep me entertained.
Pining the sleeve to the body is hard. First, I had to check which sleeve is which. Luck I marked my first sleeve. So, I started with this sleeve. The right sleeve. The sleeve seam went to the bottom of the slit and sleeve centre went to the shoulder seam. Then pin together and start sewing.
Just as I start sewing, I got distracted and had to put my sewing down. When I came back, I realised I made a mistake. The sleeve is backwards. I had the purl side facing the knit. I had to cut thy stitching a part and reattached the sleeve. At least I caught it early. Thankfully. Re pin and get back to sewing the sleeves on. The sleeves fit perfectly. I didn’t need to stretch to fit. Really happy with this.
Today I spent the day sewing on the left sleeve. While watching YouTube I pinned the sleeve to the shirt and started to sew. I eventually went back to Anne with an E. Because I had nothing else to do with my day I finished the sleeve. The shirt looks good on my mannequin.
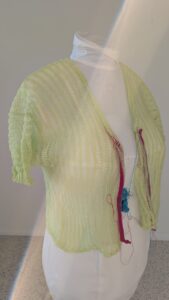
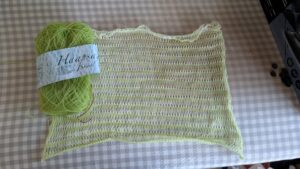
Good news is I found a green of a similar yarn type. The green is not the same. It’s darker. People will notice when I wear it. I haven’t thought of a better idea so I will use this.
I am enjoying Anne with an E. I regret not reading it when I was 14. Sadly, I was too prideful to read this story.
Hem
Finally, I have time to knit. Today’s plan it to do the hem of this shirt. I wasn’t sure about how to do this so I will do a test sample. Grabbing the green swatch I carefully hand it on the machine along the side. the knitted section is hanging by 3 needles, and the elongated stitch is left out. So, my swatch in on the machine 3 needles on 2 needles of. My first row is done by hand. Knit the needles in and wrap round the empty needles. Next, I do a row with the carriage before transferring to rib. I didn’t want to over think and complicate what kind of rib I do so I choose a 2 by 2 rib. After roughly 10 rows I transfer to the main bed and did my usual cast off.
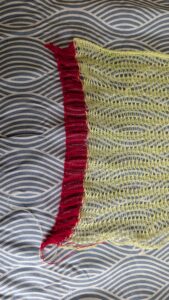
Hem Part 1
The shirt is wide so this will take to parts. I will go from needle 80 to 80. This looks roughly halfway. I mostly followed the 3 needles on 2 needles off. Some sections I do 4 needles on and other areas it’s 3 needles off. I just do that the knit tells me. Including cast on and set up row I did 12 rows. This is going smoothly. Its nice chilling on the knitting machine listening to the rain and music. Time to cast off. Casting off took for ever.
Hem Part 2
Break over let’s finish this. I pick up my shirt and start to put it back on the machine. I start with the 3 stitches that is already have rib on it. Starting at 80 again I go all the way across to 95. It’s a little longer than last time. Glad it fits on the machine.
12 rows done and the hem is done.
Let’s do the button stand. Today I am just diving in. Starting from needle 90 on the right I start hanging my shirt on the machine. Going from the hem all the way up to the back of the neck.
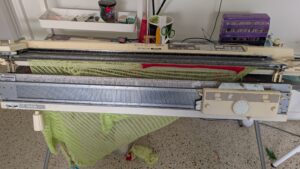
My first row broke my shirt. The tread in the shirt snap.
I declare the shirt a failure and quitting the project.
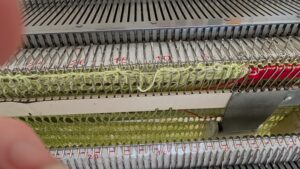
I have the week off. I should use this finishing my shirt. Last night while watching Rick and Morty I fixed my shirt. Using a crochet hook I crocket along the edge with the broken yarn. It looks good, smooth and strong. Hopefully the repair will blend in and not stand out.
While hanging my knitting on the machine I found a section I forgot to repair. So, I go the crochet hook out and the original yarn out to repair.
This time it worked I completed the first row with no issues. Then I moved on to 8 rows. This is the width of the button. At school they taught us that the button stand is twice as wide as the button. The buttonhole will be 3 needles wide
Using the original yarn, I cast off 3 stitches then cast on 3 stitches. Then move on the next buttonhole. I did 6 buttonholes. I also hooked up the float so it will be neater. The float will be inside the button stand.
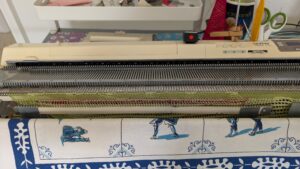
Finally, the first side is done. Next side will be easier.
This side was so much faster and with less errors. To make up for so much sitting and being hunched over I am going to the gym.
Finishing the Shirt
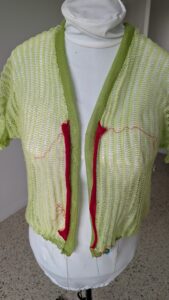
Let’s finish this shirt. I start with pulling out the waste cord and removing the waste yarn. Here I discover that some of the stitches are not connected to the shirt. So, I will sew that down. Here I aimed to make these stitches look like normal knit.
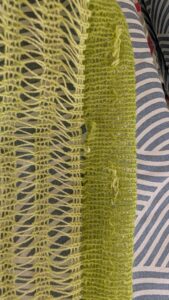
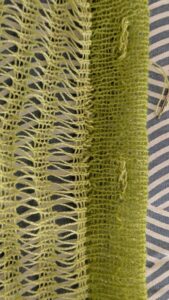
Finally settle in front of Netflix and sew. I will be watching Frieren: Beyond Journey’s End. Here I sew up the button stand ends and the split in hem and collar. Also, I sew in all the loose ends.
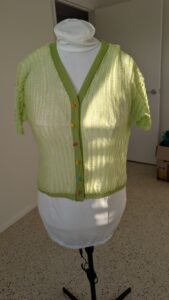
Next job is buttons. Placing the shirt on the mannequin I can see how it looks. I guide the button stand into position and place safety pins into position. It looks good. I can’t believe how close I am to finishing this.
Hair Bow
Let’s finish my project with a matching hair bow. This is a great way to use up little bits of yarn. Listening to a Podcast by How Stuff Works about Dolly Parton. May she rest in peace.
I started with casting on using the dark green yarn. Using needles from 95 to 95. I repeated my elongated stitch pattern. 4 rows stockinette and 1 row elongated stitch. After the first elongated stitch and 1 row of stockinette I stitch to the light green. My plan is to use all on it up. The light green did 3 rows on stockinette and 20 stitches of elongated stitch. Now this cone is all used up. I was prepared for this before I started the elongated stitch and tired the light green yarn to the dark green yarn. I only did 2 sections of elongated stitches and 3 sections of stockinette. I forgot to shape the ribbon so It is just a simple rectangle.
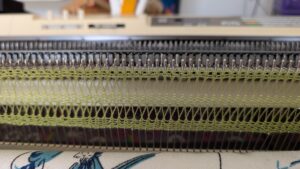
Next is the centre of the bow. Casting on using 20 needles. First I went with the simple method of casting on. First row using every second row add weights then second row with all the needles. Sadly the yarn snapped. On my second attempt I used my regular method of cast on. This worked better. Here I did 40 rows of stockinette.
At the ironing board I block my freshly knitted pieces. Next have dinner before sewing the bow together.
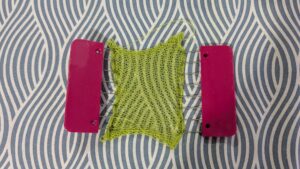
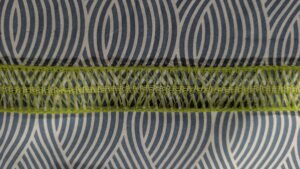
After dinner and the news I picked a movie on Netflix. Pyaar Prema Kalyanam. I most likely missed details of the film while sewing the bow. It took a while to get the bow perfect size before I saw it down.
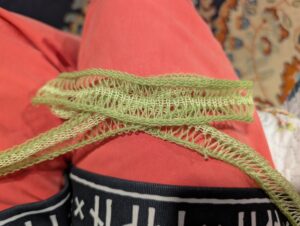
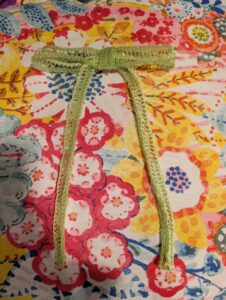
Then I move on to sewing bow into position. Move tread to right position and sew down the clip. Starting on one side sew that down. Run the tread to the other side and so that down. Move the thread to the centre for the bows middle. The centre is too wide, so I fold it in half with the seam in the middle. I tuck this thought the clip and sew down the top edge to secure it. The middle gets wrapped around the centre of the bow. I learned that the middle is too long, so I didn’t make it too tight. So, I left it lose so bow kept it’s width. Then I tucked the extra length is, so it is hidden and secure. Sew down this edge. I noticed that the bow was folding in half under the centre. To fix this issue I sew through the edge to the bow edge to hold it place. This will make things more secure. Now to tie off the thread and hide the ends. Yay the bow is down. Time to finish the film.
All Done
I am really happy with how it worked out. the other shade of green works well on my shirt. These buttons I have been looking at for a long time I finally got to use. The bow is a little thin. While blocking it I was thinking that I could knit it up and use as a trim for a skirt. Maybe one day. Also my new chair is comfy. It took a couple of days to get use to.


Leave a Reply